

How to Install a Ceiling Fan: A Detailed Guide from Affordable Electric Lubbock
Installing a ceiling fan can be tricky. In this step-by-step guide we'll break it down and make it simple!
Introduction
Installing a ceiling fan is a smart way to enhance the comfort and style of your home. While it may seem like a complex task, it is simple when you break it down into small steps. Remember, safety is key when working with electrical fixtures. If you're ever in doubt, it's wise to consult with professionals. Affordable Electric Lubbock is here to guide you through each step, should you need it. We'll ensure your ceiling fan installation is successful and safe.
Step 1: Select the Right Ceiling Fan
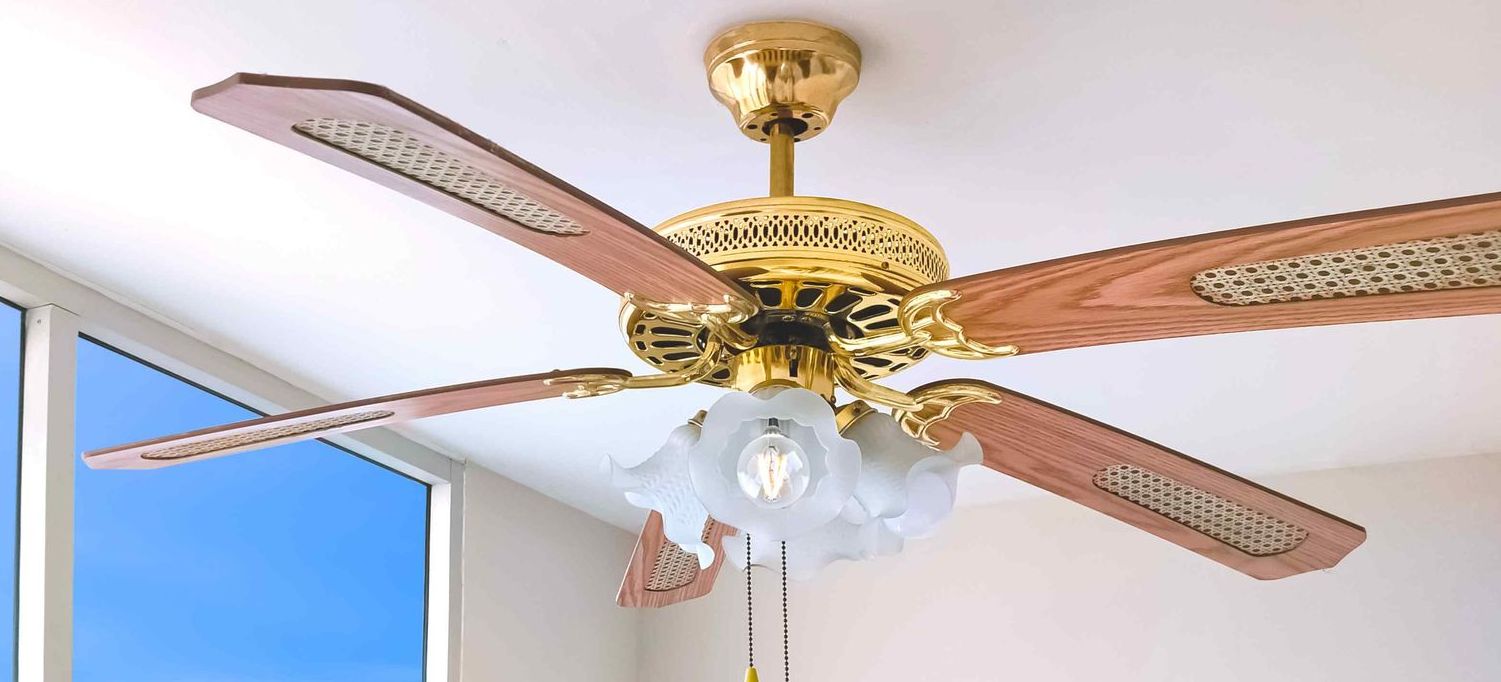
The first step is choosing a ceiling fan that complements your room's size and aesthetic. Ceiling fans vary in size, so it's important to select one that will effectively circulate air in the desired room. Be sure to consider the design of the fan to ensure it matches your room's decor.
Step 2: Ensure Safety by Turning Off Power
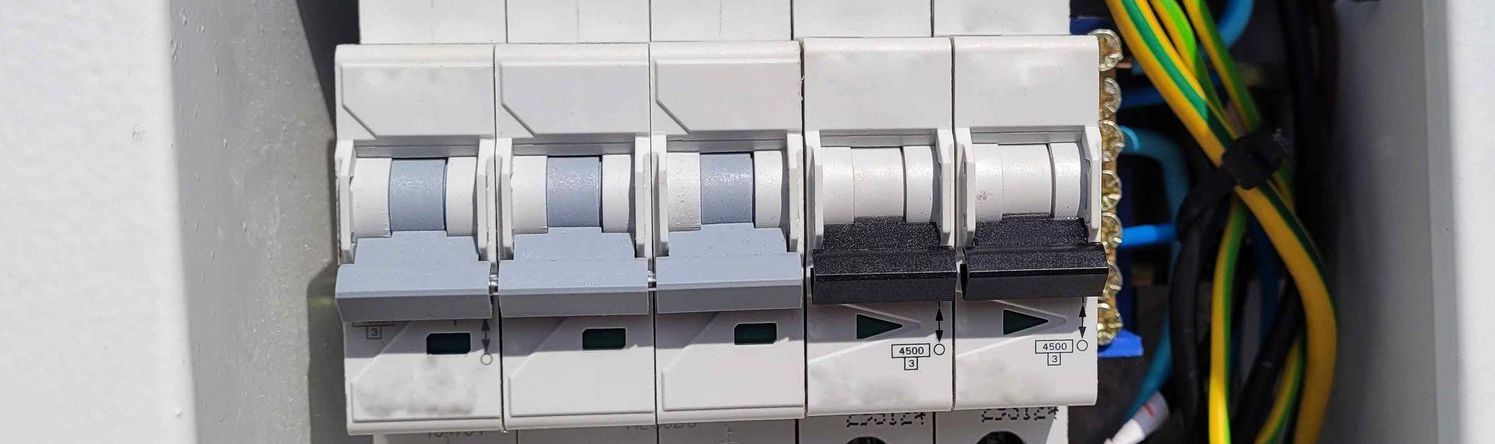
Safety should always be your top priority. Make sure to turn off the electrical power at the circuit breaker box before beginning installation. This step is crucial to prevent any electrical hazards. A circuit tester can be used to verify that power is off in the area where you're working.
Step 3: Remove Existing Fixture
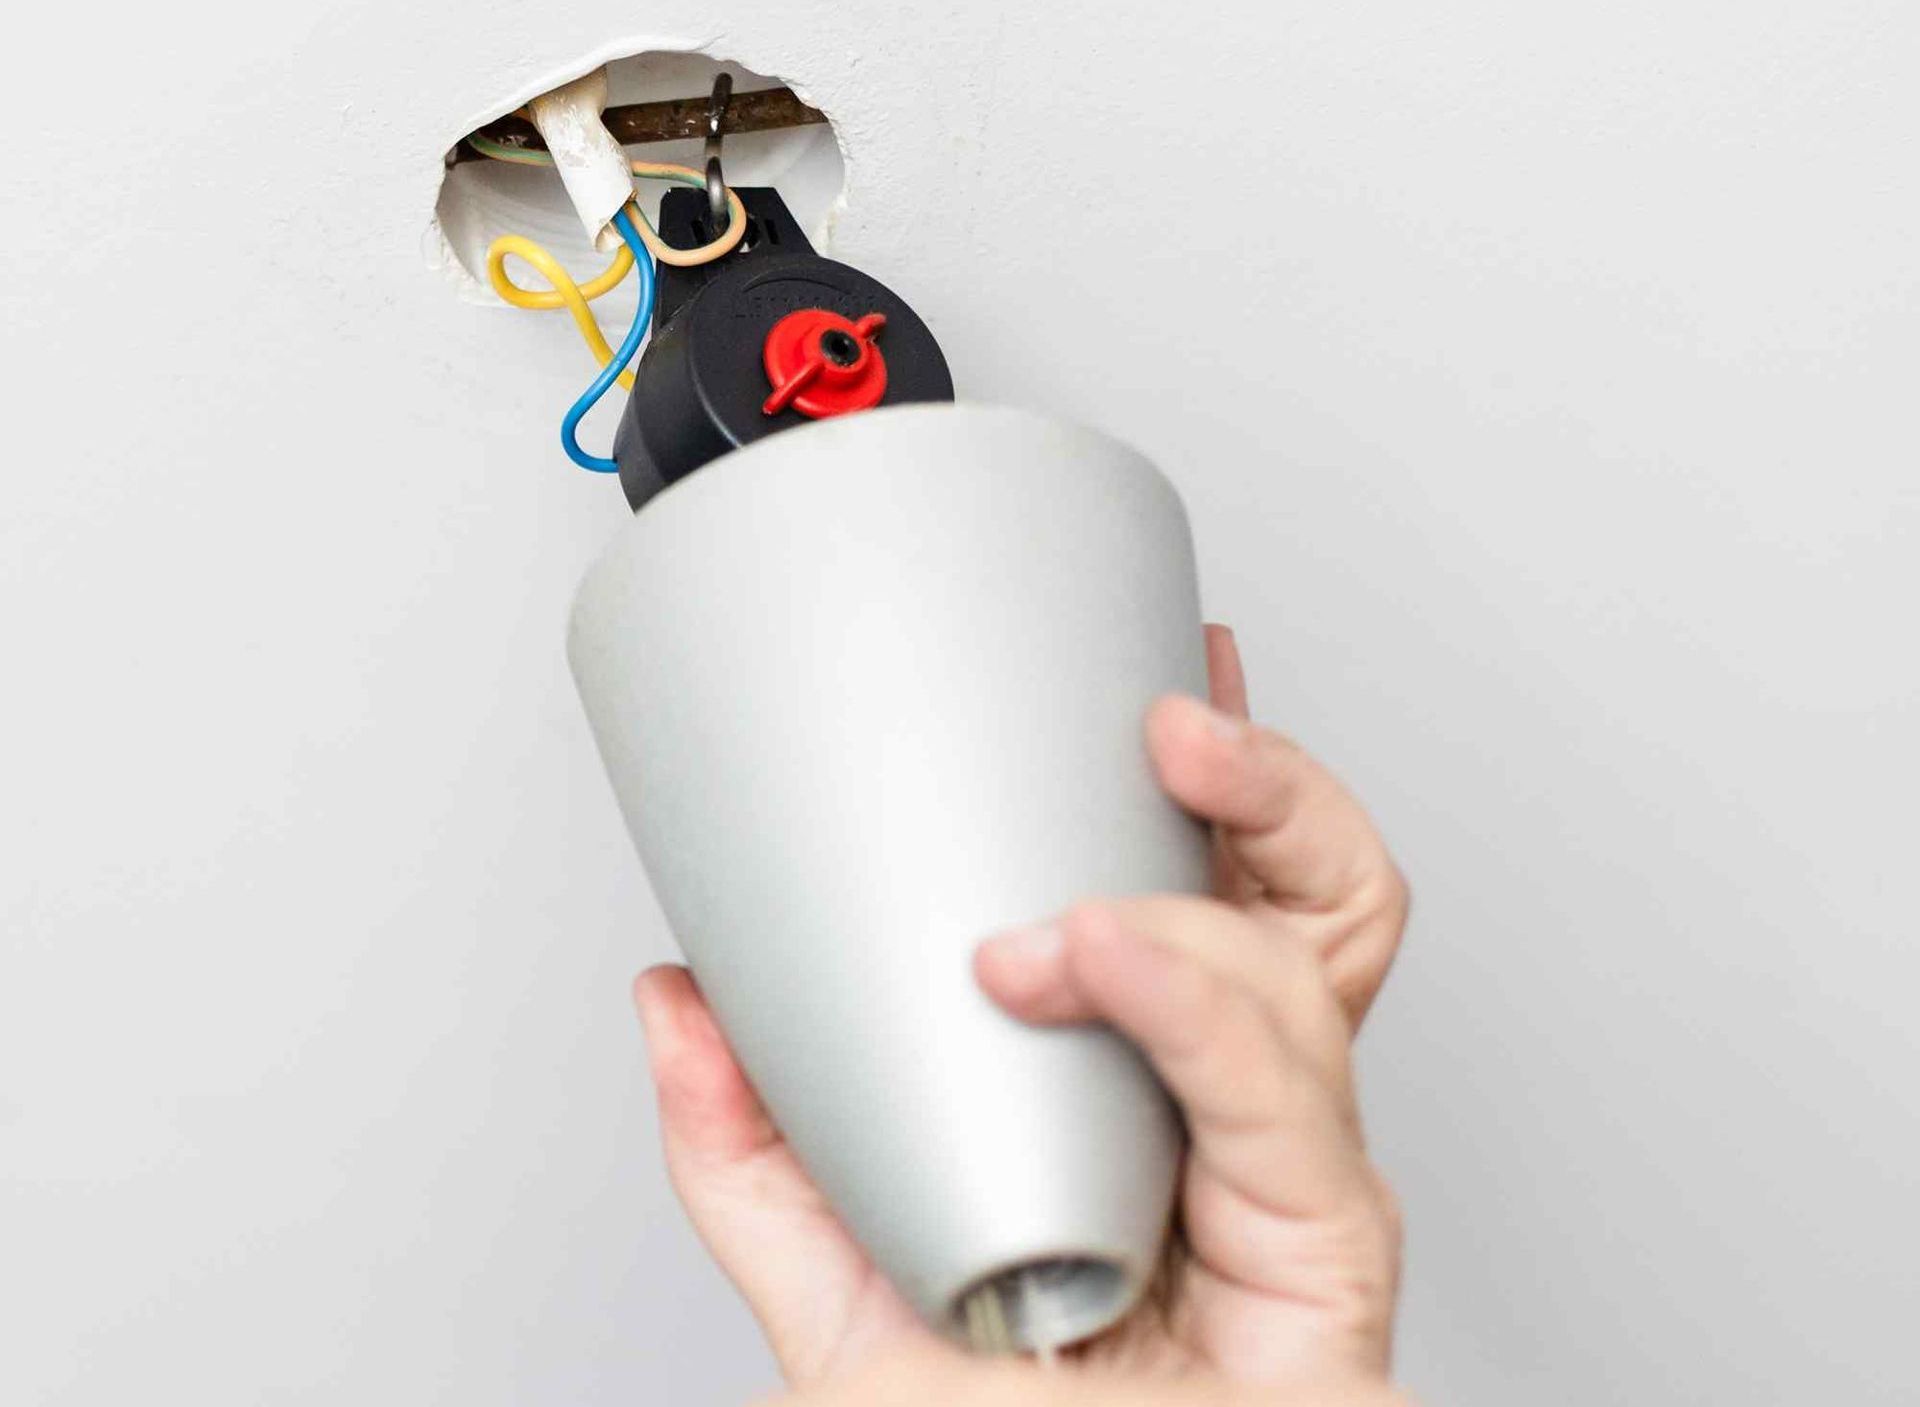
If there's already a light fixture in place, you'll need to remove it. This involves unscrewing the fixture and disconnecting the wires. Take note of how the wires are connected for future reference. Taking a picture of the connected wires is a great idea!
Step 4: Install the Mounting Bracket
The mounting bracket serves as the foundation for your ceiling fan. It provides the support the fan needs. This bracket must be securely attached to a ceiling joist or a reinforced support for ceiling fans. A secure attachment ensures the fan will be stable and safe once installed.

Step 5: Connect the Wires
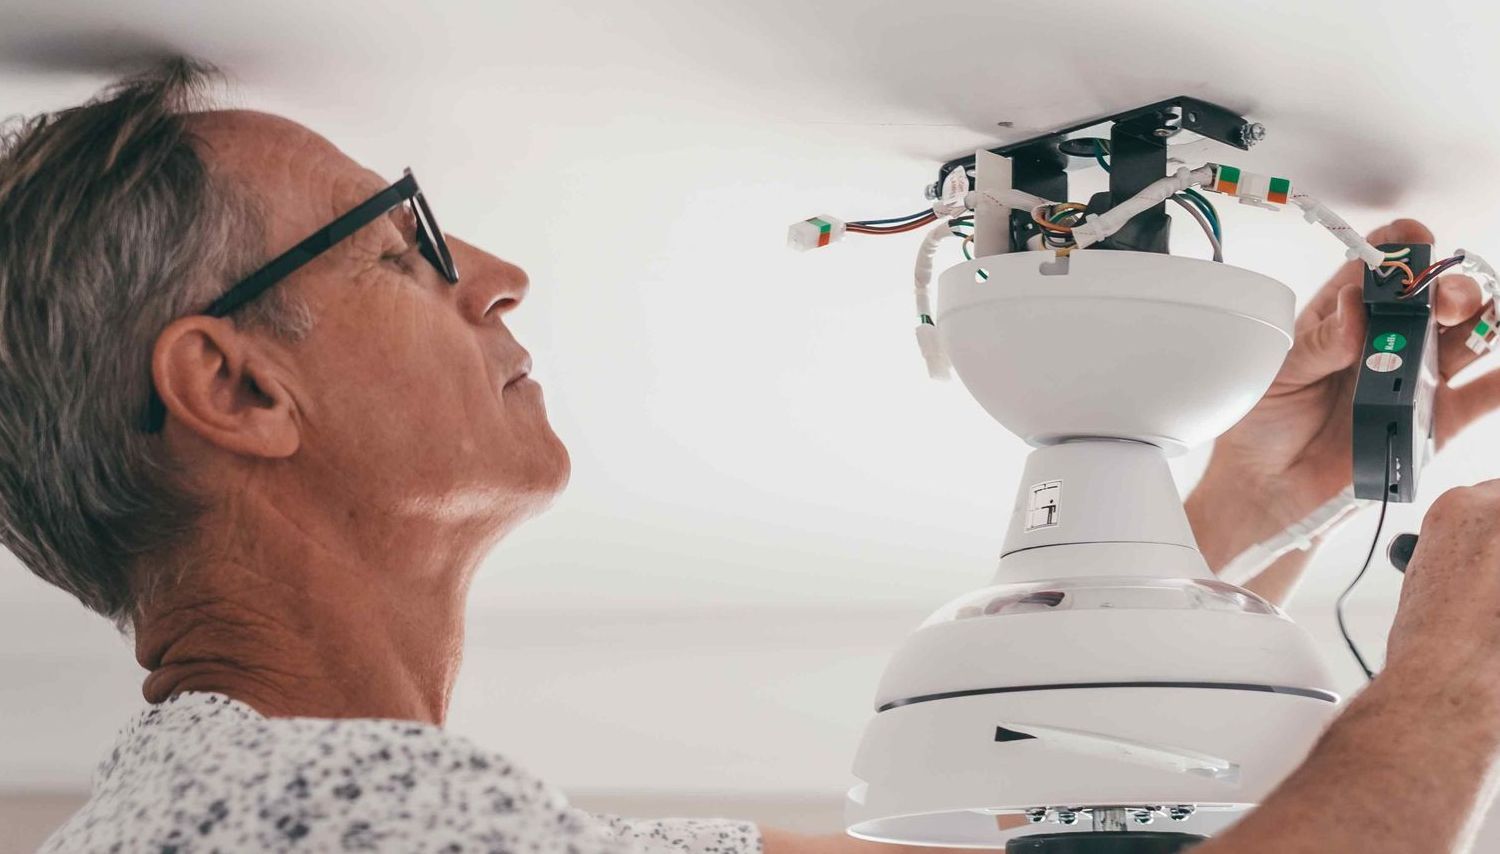
Wiring is a critical step in the installation process. Ceiling fans typically come with three wires: black (hot), white (neutral), and green or bare (ground). Connect these to the corresponding wires in your ceiling. If your fan includes a light kit, there will be an extra wire for this feature. Securely twist the wires together and cover them with wire nuts to ensure a safe connection.
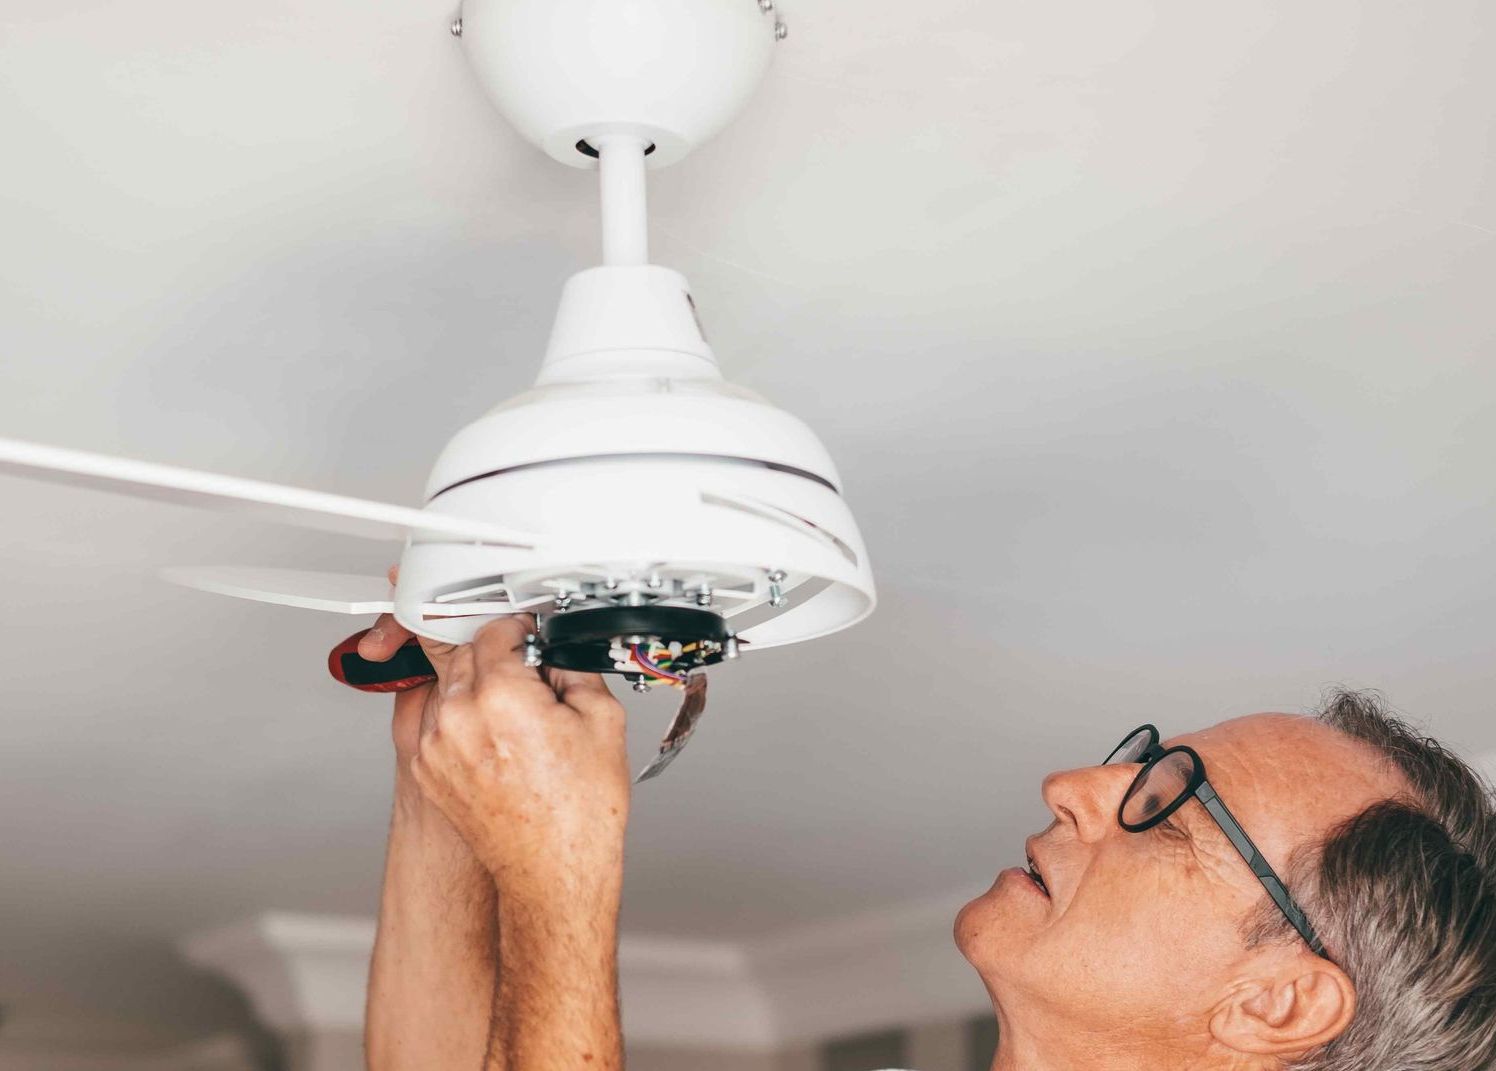
Step 6: Attach the Fan to the Mounting Bracket
With the wiring in place, you can now mount the fan motor to the bracket. This might require some lifting, so having an extra pair of hands can be helpful. Follow the instructions specific to your fan model to ensure it is properly attached.
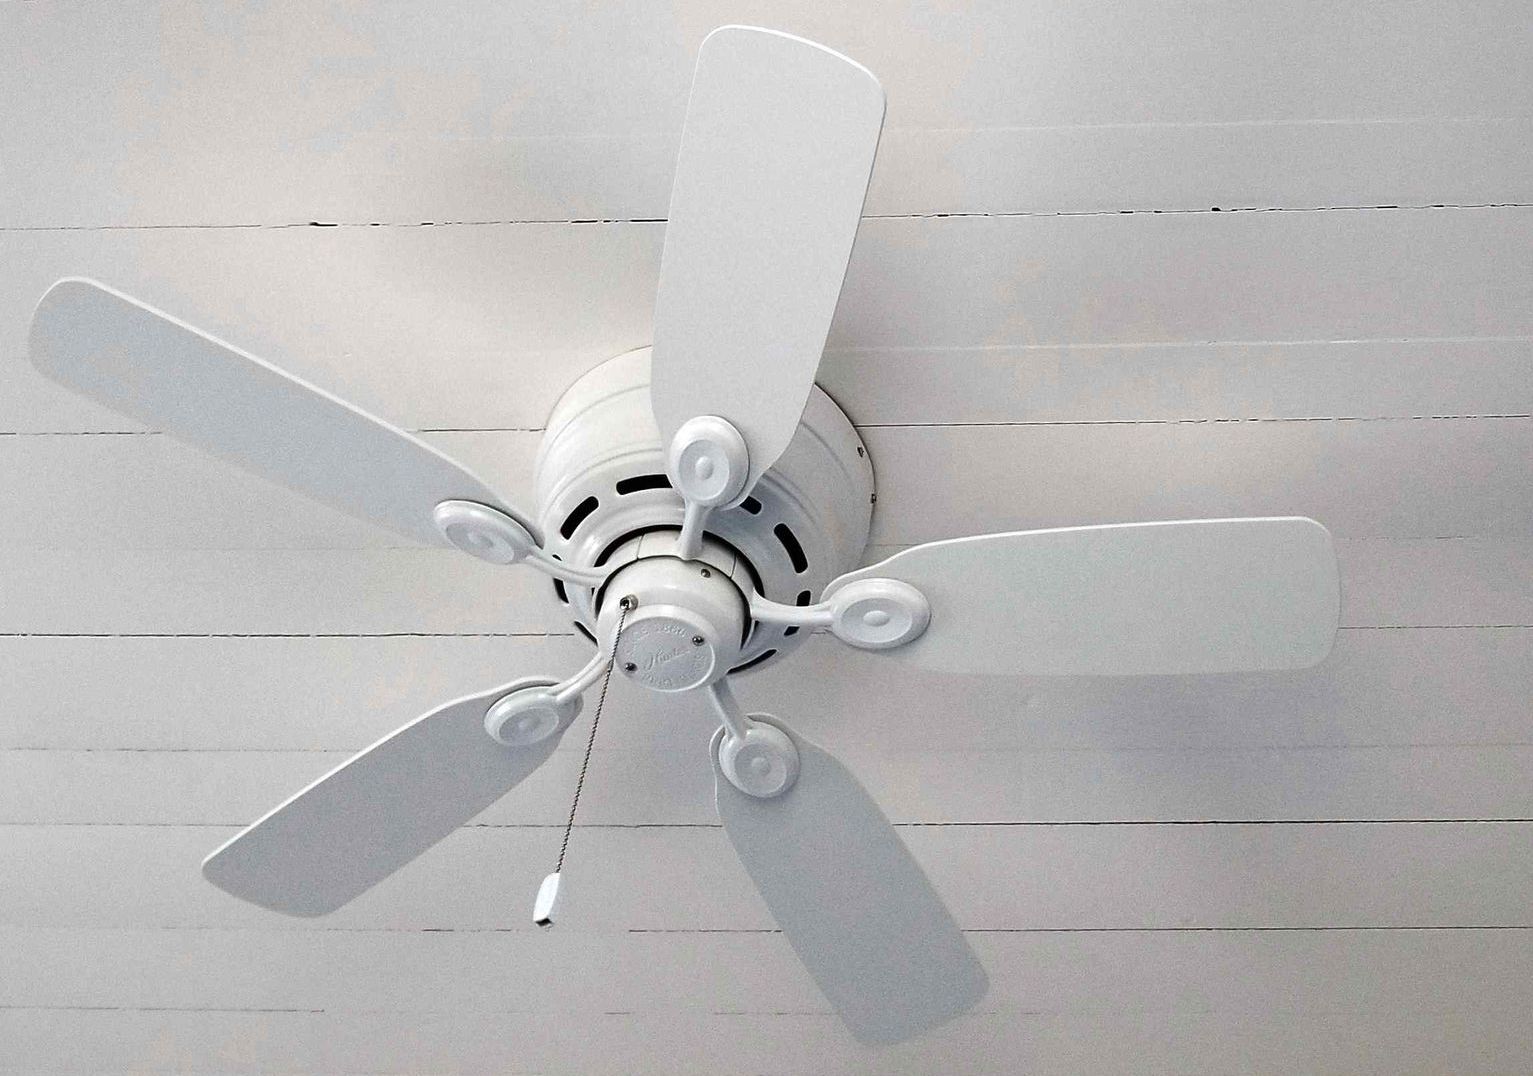
Step 7: Install Fan Blades and Light Fixture
Once the motor is mounted, attach the fan blades evenly. This will ensure balance and prevent wobbling. If your ceiling fan comes with a light fixture, follow the manufacturer's instructions to install it at this stage.
Step 8: Test Your New Ceiling Fan
After completing the installation, turn the power back on at the circuit breaker and test your new ceiling fan. Ensure it operates smoothly and without noise. Be sure to check the light function if your fan comes with one.
Conclusion
Installing a ceiling fan can improve the airflow and overall comfort of your home. By following these detailed steps, you can undertake this project with confidence. But, if you encounter any challenges or prefer professional help, Affordable Electric Lubbock is ready to help. Our team is committed to providing high-quality electrical services. We will ensure your home is safe, comfortable, and exactly to your liking.
You might also like
The Lubbock Electric Blog