

How to Install a Ceiling Fan Rated Box
Installing a ceiling fan rated box can be a challenge, but with our guide we make it easy for you to do the job yourself!
Introduction
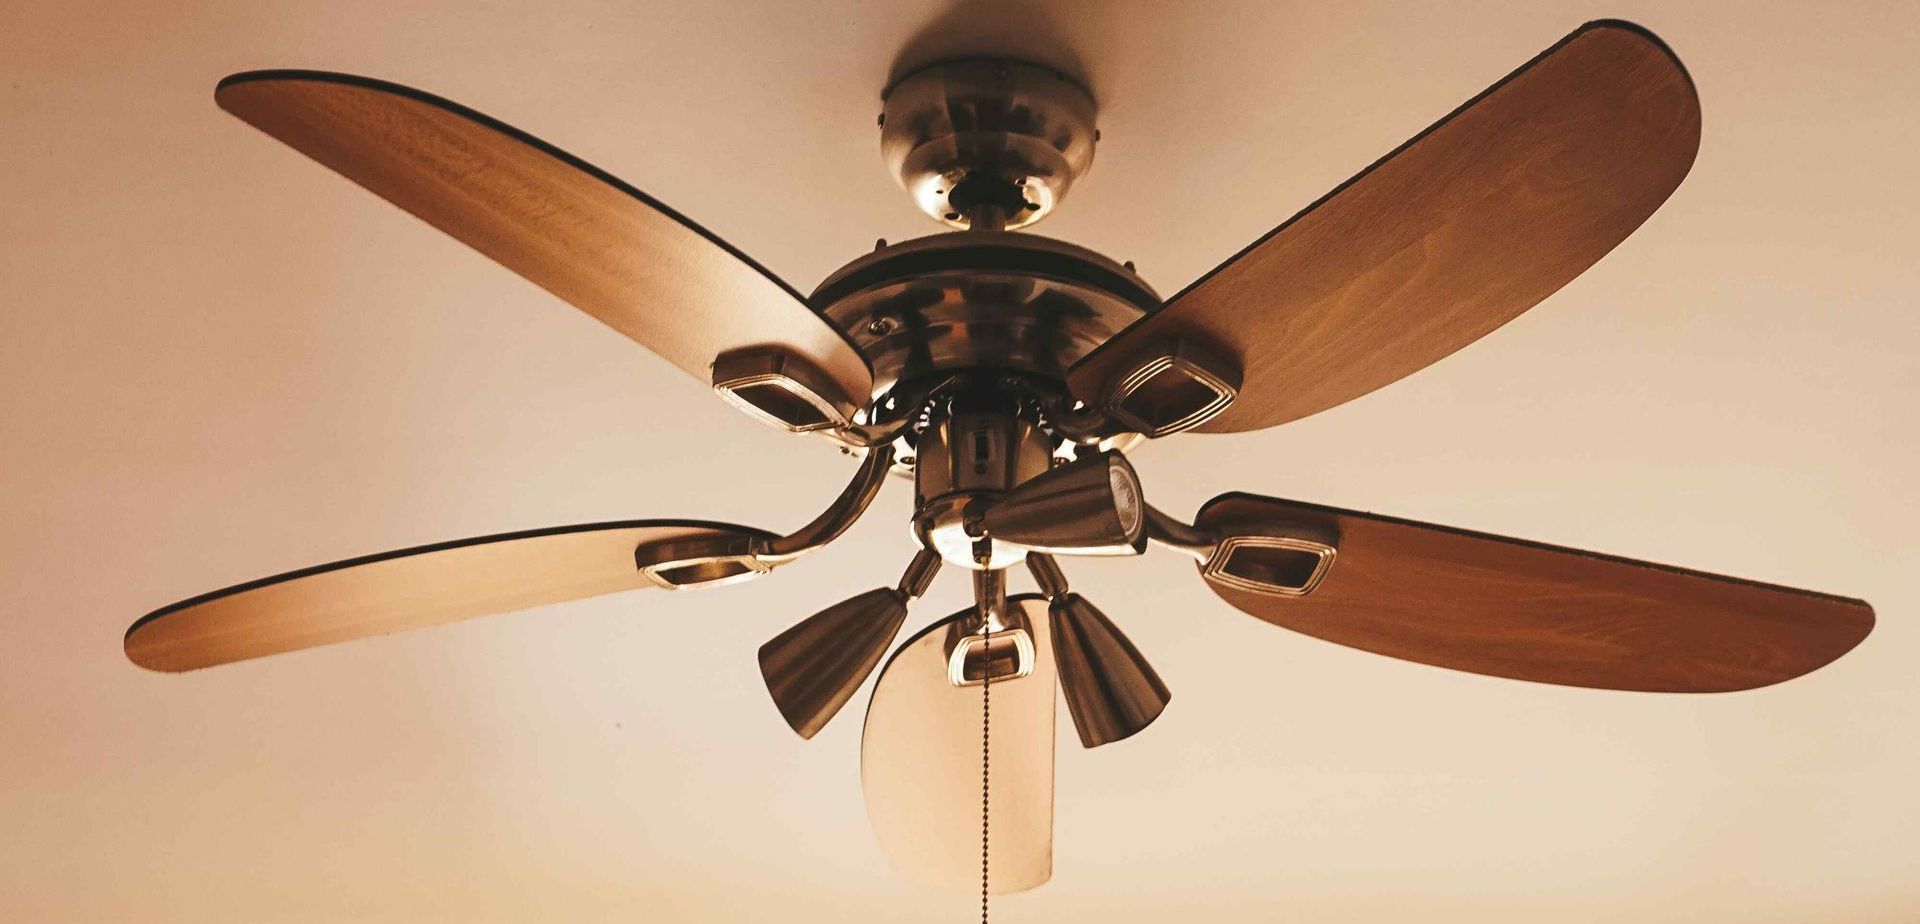
Installing a ceiling fan is a fantastic way to enhance the airflow in your home and give any room a stylish update. The key to a safe installation is ensuring the fan is mounted to a ceiling fan rated box. Here’s a detailed guide on how to install a fan-rated electrical box. Follow this guide and your ceiling fan will be both safe and sturdy.
Step 1: Choose the Right Fan Box
Not all electrical boxes are created equal. For a ceiling fan, you need a box specifically rated to handle its weight and motion. These boxes are often steel or heavy-duty plastic and must be able to support up to 70 pounds. Look for boxes labeled as "fan-rated" at your local hardware store. Make sure it’s suitable for the weight and model of your fan.
Step 2: Turn Off the Power
Safety is important when working with electricity. Go to your home’s circuit breaker or fuse box and switch off the power to the area where you'll be working. Verify that the power is off by using a non-contact voltage tester at the light switch and the wires in the existing electrical box. This step prevents any electrical accidents while you work.
Step 3: Remove the Existing Electrical Box
If there’s already an electrical box in place, it will need to be removed if it’s not appropriate for a ceiling fan. Unscrew and pull out the existing box. Disconnect the attached wires after ensuring they are not live. Inspect these wires for any damage or wear. Replace or repair any faulty wires before going further with the installation.

Step 4: Install the New Fan Rated Box
Installing the correct box involves securing it to a support, like a ceiling joist. If the fan’s location doesn’t align with a joist, use an adjustable fan brace that spans between joists. This offers a solid mount for your new box. These braces come with a box attached or allow for a box to be mounted directly to them. Follow the brace and box manufacturer’s instructions closely. Use screws and ensure everything is tight and secure.
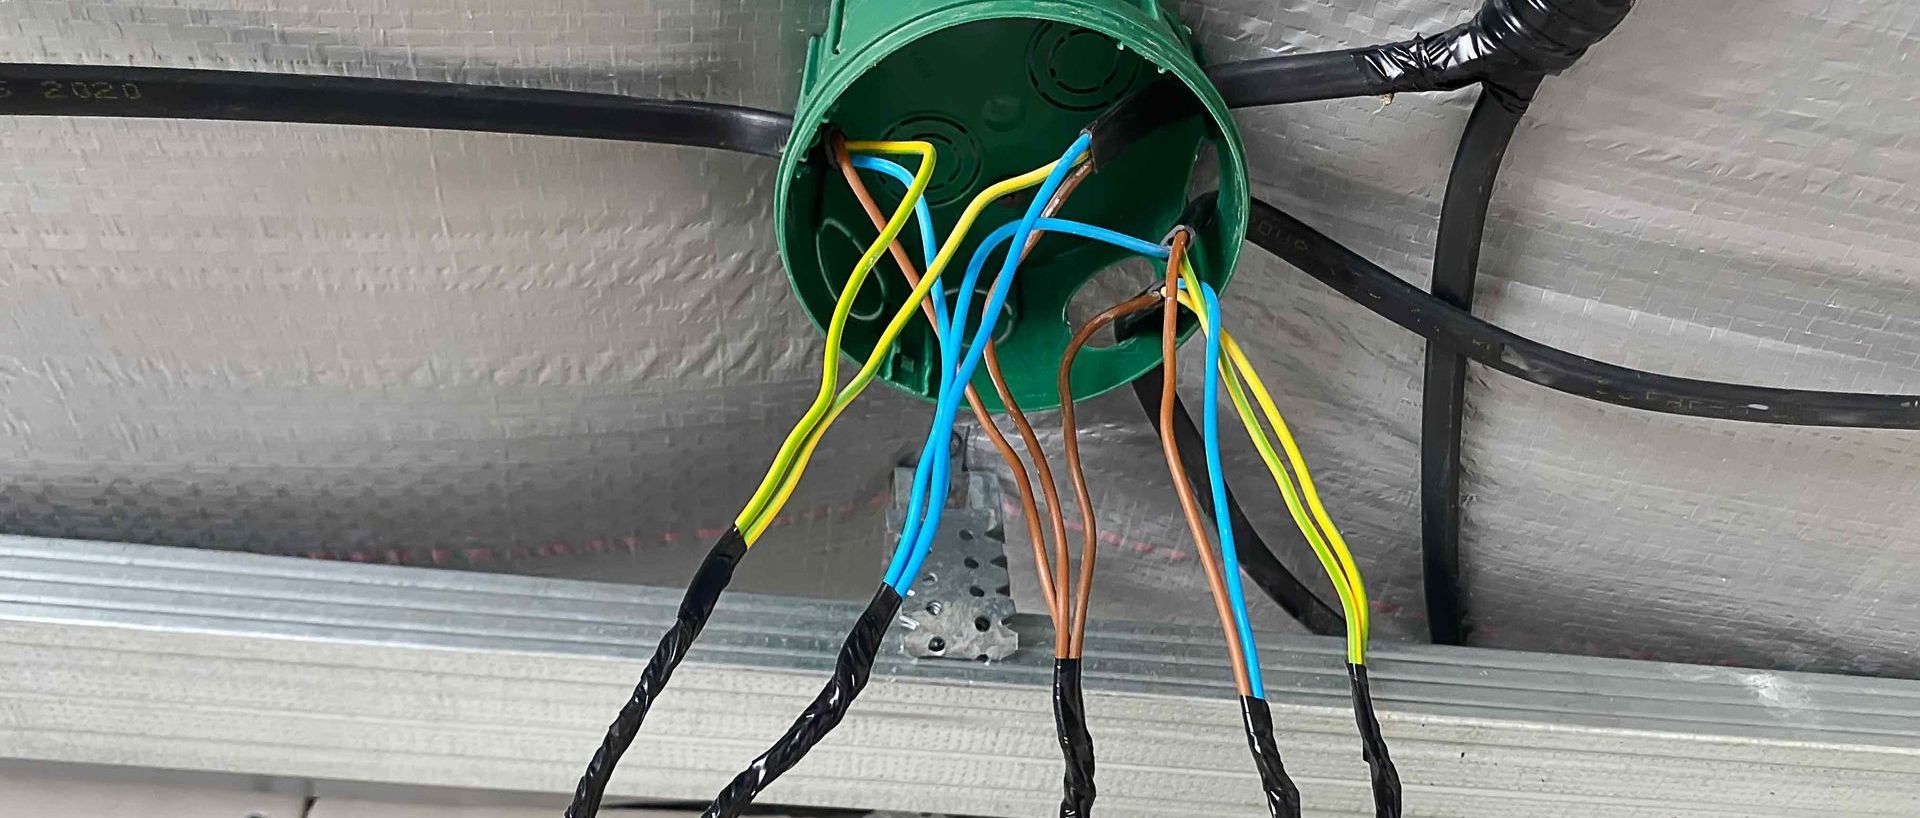
Step 5: Prepare the Wiring
With your new box mounted, prepare the wiring for the fan. This usually involves stripping the ends of wires and using wire connectors (wire nuts) to join your fan’s wires to the house wiring. Be sure to follow your ceiling fan’s wiring diagram. Make sure that all connections are tight and secure within the box. Ensure that the grounding wire is attached to the box and fan, if applicable.
Step 6: Attach the Fan Mounting Bracket
The fan mounting bracket is what will hold your ceiling fan in place. Attach this bracket to the new fan-rated box using the hardware provided. Ensure it’s mounted securely, as it needs to support the full weight of the fan.

Step 7: Hang and Wire the Fan
Lift the fan and place its top portion into the bracket you’ve just installed. Most fans will have a hook to support them while you connect the wires. Match the wire colors from your fan to those in the electrical box. This is usually black to black (hot), white to white (neutral), and green or bare to green or bare (ground). Secure all connections with wire nuts and ensure no wires are pinched during installation.
Step 8: Final Checks and Testing
Once the fan is in place and everything is wired, double-check every bolt, screw, and wire connection. Make sure the fan is securely attached to the bracket and that the installation looks clean and professional. Turn the power back on and test the fan for operation. Watch for any signs of instability like wobbling or strange noises. These indicate a need for further adjustments.
Conclusion
Installing a ceiling fan rated box and setting up the fan itself can seem complex. But, taking it step-by-step can make the process manageable. Always prioritize safety. Ensure all electrical connections are secure and the power is off when doing electrical work. If you’re ever unsure about the installation process or encounter complicated wiring issues, reach out. We are here to help at Affordable Electric Lubbock. Our professionals are ready to help with all your electrical needs. We'll ensure your projects are completed safely and correctly.
You might also like
The Lubbock Electric Blog